
DIY: Easy Pinch Pleat Curtains
 I’m so excited to finally share my dining room curtain DIY with you guys! I’ll show you how easy it is to convert ready to hang grommet panels into pinch pleat curtains in time for Thanksgiving dinner!
Ever since we moved into our home three years ago, I’ve been puzzled by these awkward windows in our dining room. I thought about roller blinds or roman shades, but wanted something a bit more formal in here. I love the look of custom pinch pleat curtains, but not the custom price. Then I found the most perfect panels at one of my favourite stores. Perfect…except for the grommets. Not a big fan of grommets, nor did I think they were right in my dining room, so I decided to cut the grommets off and create my own custom pinch pleat curtains instead. It was surprisingly easy (even for this non crafty gal) and I couldn’t be more pleased with how they turned out! Here’s how I did it:
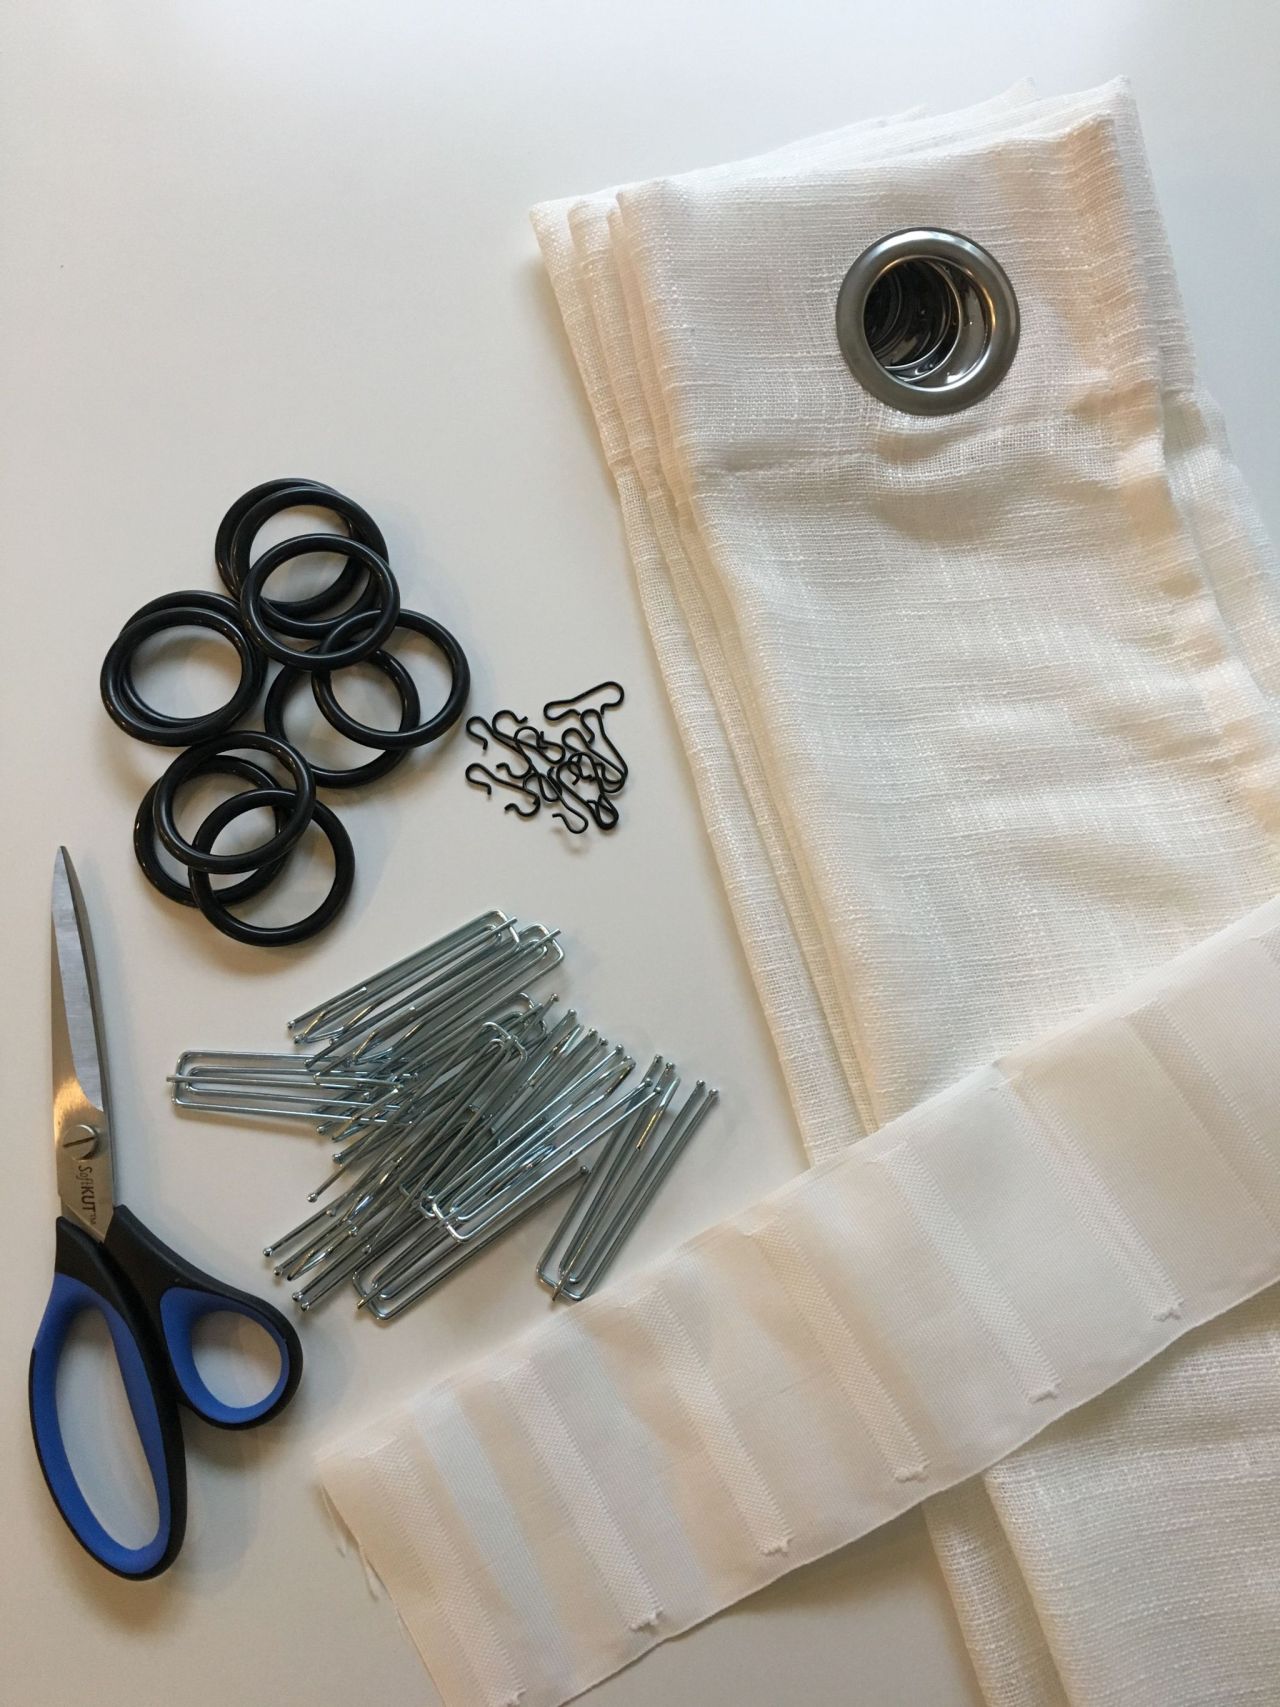
YOU WILL NEED:
- 2 curtain panels (or more depending on window size)
- Pleater tape with inserts
- Drapery hooks
- Sewing machine
- Scissors
- Measuring tape
- Pins
- Curtain rod, rings and clips
STEP 1: MEASURE CURTAIN LENGTH AND CUT OFF GROMMETS
Look for curtains that are a bit longer than you actually need. The beauty of this project is that by cutting off the grommets and creating the pinch pleat effect at the top, the bottom and side edges of the curtain remain the same.This project would work well with just about any panels that need to be shortened. I finished the edge by sewing a 1/2 inch hem.

STEP 2: FOLD OVER AND IRON A 4 INCH HEM
This is where you will place your pleater tape.

STEP 3: PIN THE PLEATER TAPE IN PLACE
Lay your panel out flat and place and pin your pleater tape in place. At this point, I would double check the length of your panels by holding them up. I had to slightly adjust the length on the first panel. Much easier to fix before you sew!

STEP 4: SEW THE PLEATER TAPE TO THE PANEL
Be careful not to sew over the inserts where the drapery hooks will go.

STEP 5: INSERT THE DRAPERY HOOKS
Hooks come in various sizes. I used a 4 prong hook. The more prongs, the tighter the pleat. This is what gathers the drape together and creates the pleat.

That’s it! You’re pretty much done! Once all the hooks are inserted, attach the clips and then attach them to the your rod and rings.

They really add a new softness and luxury to the dining room don’t you think?!? So happy with the results!

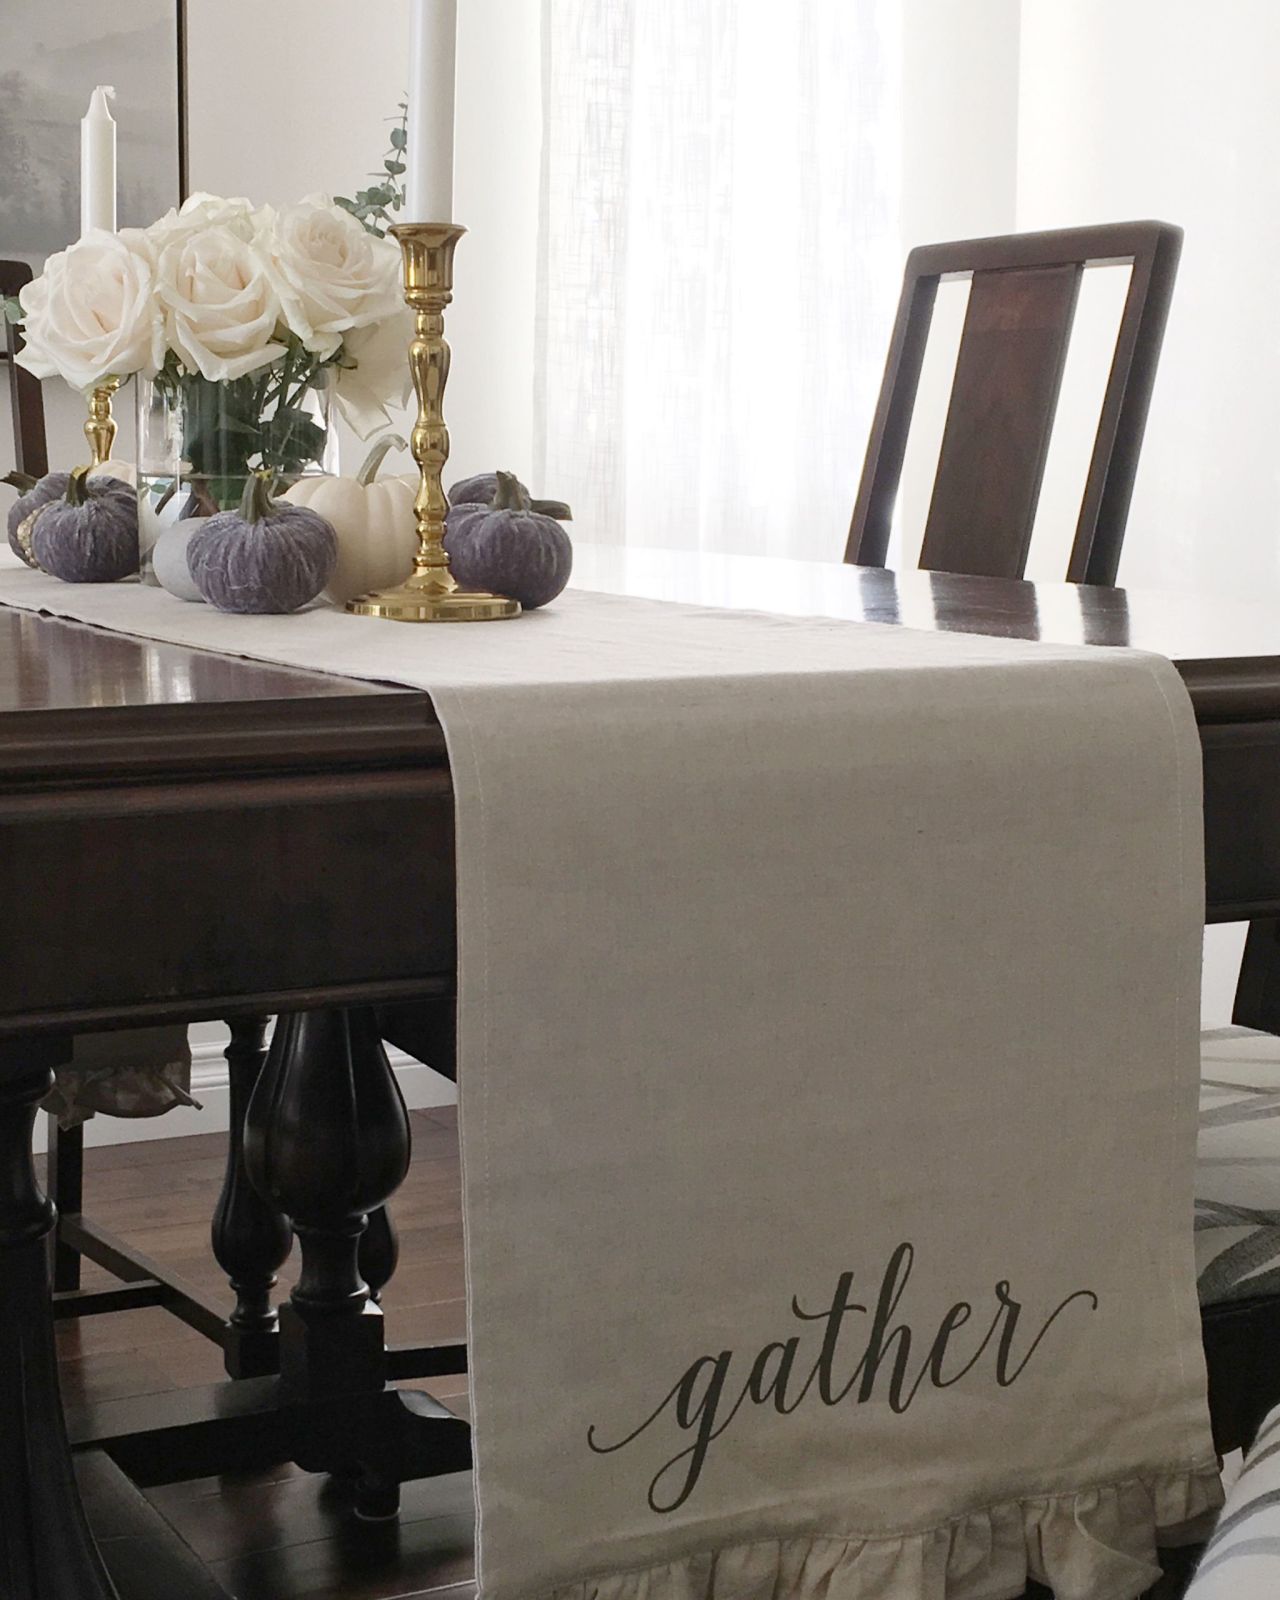
This turned out to be such an easy project and it feels so good I did it on my own! Ok…with a little help from Pinterest and the nice lady at the fabric store. Thanks for stopping by friends! If you’re still looking for Thanksgiving table inspiration, be sure to check out our Thanksgiving tablescape blog hop HERE
Judy xo


I read your instructions on the pleaded curtains. Sounds really easy, especially for a novice like me. Thank you. GW
I was a novice too Glenda, you’ll do great!!
DIY pinch-pleat curtains are a cost-effective and stylish way to add some flair to your home decor, and this tutorial provides step-by-step instructions.
We have a large curved bay window that desperately needs the pleated drapes replaced. These are difficult to find & expensive! Thank you so much for posting this – I’m going to give it a try.